
 Buy with Prime


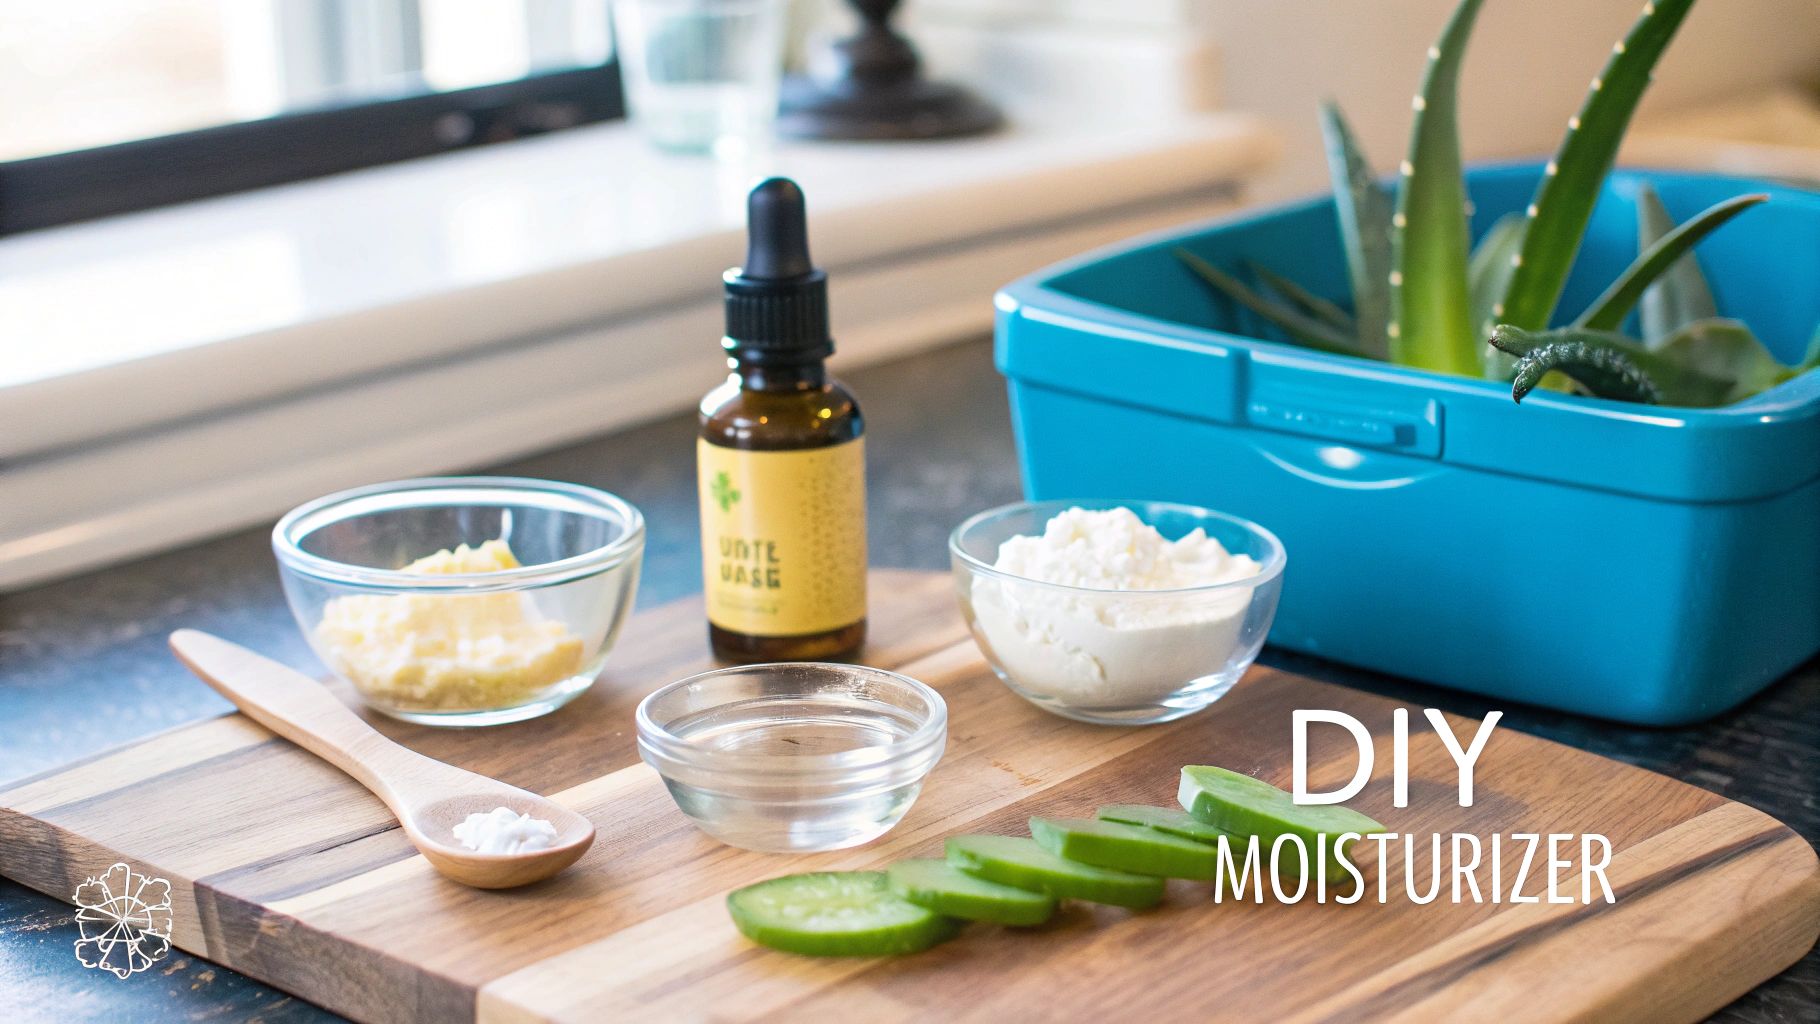
Making your own moisturizer is essentially about combining oils and water-based ingredients, then using an emulsifier to create a stable, creamy lotion. It’s a simple technique, really, but it gives you total control to craft a product that’s perfect for your skin.
Why Make Your Own Moisturizer
Diving into DIY skincare is such an empowering experience. When you decide to learn how to make a moisturizer, you're taking back control over what you put on your body. This guide is here to demystify the process, turning what seems like complex chemistry into a simple, creative project you can do right in your kitchen.
We're focusing on a straightforward approach that gives you a beautiful, creamy lotion without needing a professional lab. Think of it as a kitchen recipe, but for your skin. The core idea is learning how to successfully combine two things that naturally want to stay apart: oil and water.
The Power of Personalization
The biggest win with homemade skincare is, without a doubt, customization. You get to hand-pick every single ingredient, from rich, decadent butters to light, fast-absorbing oils. This is how you create a product that feels uniquely yours.
- Ingredient Control: You choose the specific oils, butters, and liquids that go into your cream. No more guessing what's in that store-bought bottle.
- Texture Preference: You can tweak the ratios to make your moisturizer thick and rich for dry winter skin, or light and fluid for summer.
- Scent Selection: Add your favorite essential oils for a personalized, subtle fragrance that you actually enjoy.
By understanding the fundamentals of how these ingredients play together, you'll feel confident and ready to whip up your first batch. It's really just about combining your creativity with a reliable method.
Understanding the Core Components
Every lotion recipe has a few key players. The magic happens when you bring them together correctly. At its heart, making a moisturizer involves blending an oil phase with a water phase and using an emulsifier to lock them together for good.
This guide will walk you through each step. We’ll explore different butters, carrier oils, and water-based options like floral hydrosols. If you get hooked and want to explore further, you can find more inspiration to make your own skin care products and expand your skills.
By the end, you'll have the know-how to create a beautiful and functional moisturizer completely from scratch.
Choosing Your Core Skincare Ingredients
Before you can start whipping up your dream cream, you need to get to know your ingredients. Think of it like stocking your pantry before you cook. Every beautiful, stable lotion comes down to a careful balance between an oil phase, a water phase, and the critical ingredients that marry the two together.
This is your roadmap to picking the perfect building blocks. Every single choice—from the butter you select to the type of water you use—will shape the final feel, texture, and appearance of your homemade moisturizer.
The Foundation: The Oil Phase
This is the heart of your moisturizer, the part that gives it that rich, nourishing, and conditioning feel. The oil phase is typically a blend of butters and carrier oils, and you can play with the ratios to get the exact texture you're after.
For instance, if you're making a heavy-duty cream for very dry skin, you might use a higher percentage of rich butters. On the other hand, for a light, daily face lotion, you'd probably want to lean more on fast-absorbing, lightweight oils. It’s all about what your skin loves.
Here are a few popular choices to get you started:
- Shea Butter: A true classic for a reason. It creates a wonderfully creamy, substantial lotion that’s deeply moisturizing.
- Mango Butter: This one often feels a bit lighter and less greasy than shea, making it a fantastic choice for facial creams.
- Jojoba Oil: Technically a liquid wax, jojoba is famous for being incredibly similar to our skin's natural sebum. This makes it a winner for just about every skin type.
- Sweet Almond Oil: A brilliant all-around oil. It feels smooth, absorbs nicely, and is wonderfully moisturizing.
- Fractionated Coconut Oil: Unlike regular coconut oil, this version stays liquid at room temperature and is known for its super lightweight, non-greasy feel.
Choosing Your Base Ingredients: A Comparison Guide
Navigating the world of butters and oils can feel a little overwhelming at first. To make it easier, I've put together this quick comparison table to help you select the perfect base for your oil phase. Think about the kind of moisturizer you want to create—is it a thick body butter or a light facial lotion?—and use this guide to find your match.
| Ingredient | Common Feel | Best Suited For | Notes |
|---|---|---|---|
| Shea Butter | Rich, creamy, substantial | Creating thick, protective creams | Can feel heavy for some; a little goes a long way. |
| Mango Butter | Smooth, less greasy than shea | All-purpose body and face creams | Melts easily on skin contact, offering a lovely glide. |
| Jojoba Oil | Lightweight, silky, fast-absorbing | Creating balanced, non-greasy lotions | Its structure is similar to natural sebum, making it a versatile choice. |
| Sweet Almond Oil | Medium-weight, smooth, nourishing | General-purpose moisturizers | A great introductory oil that works well in most formulas. |
Remember, this is just a starting point! The real fun begins when you start experimenting with different combinations to create a blend that’s uniquely yours.
The Hydration: The Water Phase
While oils condition and soften, the water phase is what provides that essential rush of hydration. This is another area where you can get creative. The simplest, and often best, choice is purified water.
I can't stress this enough: use distilled water. It’s free from minerals, bacteria, and other contaminants found in tap water that can mess with your formula and drastically shorten its shelf life.
But you don’t have to stop at plain water! Here are a few other lovely options:
- Floral Hydrosols: Also known as floral waters (like rosewater or lavender water), these bring a beautiful, subtle scent and their own botanical qualities to your cream.
- Aloe Vera Juice: A fantastic choice for a soothing, lightweight feel. Just be sure you're using a thin, watery aloe juice, not a thick gel. A thick gel can break your emulsion.
- Glycerin: While not a base liquid, adding a small amount of vegetable glycerin to your water phase turns it into a hydration powerhouse. Glycerin is a humectant, which means it actively draws moisture into the skin. You can discover the benefits of natural humectants for skin to learn more about how they work.
The Unifiers: Emulsifier and Preservative
Now for the technical, non-negotiable players in your formula. Without these two, you’d have a separated puddle of oil and water that would become a playground for bacteria in just a few days.
An emulsifier is the magic ingredient that forces oil and water to fall in love and stay together, creating a stable, uniform cream. A preservative is an absolute must-have in any product containing water. It stops mold, yeast, and bacteria from growing.
Key Takeaway: Please don't confuse an antioxidant like Vitamin E with a preservative. While Vitamin E is a wonderful addition for its skin-beautifying qualities and can help slow oil rancidity, it will do absolutely nothing to protect your cream from microbial contamination. You must use a broad-spectrum cosmetic preservative.
This drive to create personalized, effective skincare at home is more than just a hobby; it’s part of a huge global trend. The moisturizer market alone was valued at $11.02 billion and is expected to hit $16.71 billion by 2032. This incredible growth shows just how many people are looking for natural, custom alternatives. You can explore more on moisturizer market trends to see the bigger picture.
Your Foolproof Moisturizer Recipe
Alright, this is where the real fun begins. We're going to put all that theory into practice with a super reliable, beginner-friendly recipe for a gorgeous face-and-body cream.
Think of this as your starting point—your base camp. Once you get the hang of this formula, you can tweak it, customize it, and make it entirely your own. The whole process breaks down into three simple stages: heating, combining, and cooling.
I'll walk you through everything with exact measurements and tell you what to look for, so your first go feels less like a science experiment and more like a fun kitchen project. We'll also quickly cover sanitation, which is key to making a stable, long-lasting cream.
Gathering Your Tools and Ingredients
First things first, let's get set up for success. Just like baking a cake, having everything measured and ready to go (mise en place) makes the whole process a breeze. Don't worry, you don't need a professional lab—just a few basic items.
Here’s your checklist:
- Two heat-safe glass beakers or small pots
- A digital kitchen scale (this is non-negotiable for accuracy!)
- An immersion blender, also known as a stick blender
- A small spatula for scraping down the sides
- Sanitized jars or containers for your finished cream
- Paper towels and rubbing alcohol for cleaning
Before you even think about measuring, wipe down your work surface, tools, and containers with rubbing alcohol. This simple step is so important for minimizing bacteria and giving your moisturizer the best possible shelf life.
The Foolproof Cream Recipe
This recipe makes about 4 ounces (around 120 grams) of a beautiful, medium-weight cream. It’s lovely for both face and body, absorbing quickly without feeling heavy or greasy.
Phase 1: The Oil Phase
- 24 grams Sweet Almond Oil (or another liquid carrier oil you love)
- 12 grams Shea Butter (swap for Mango Butter if you want something lighter)
- 10 grams Emulsifying Wax NF (our key player for binding it all together)
Phase 2 The Water Phase
- 70 grams Distilled Water (please, no tap water!)
- 4 grams Vegetable Glycerin (for that extra boost of hydration)
Phase 3 The Cool-Down Phase
- 1 gram Broad-Spectrum Preservative (like Optiphen or Germall Plus)
- 0.5 grams Vitamin E Oil (optional, for its antioxidant qualities)
- A few drops of your favorite essential oil (optional, for a lovely scent)
Pro Tip: When you're learning how to make moisturizer, accuracy is your best friend. A digital scale that measures to at least one decimal point will ensure your ratios are spot-on. This is the secret to getting a stable, beautiful cream every single time.
The Heating Phase: Gentle and Steady
The main goal here is to melt your butters and waxes while bringing both your oil and water phases to roughly the same temperature. This is absolutely critical for creating a stable emulsion that won't separate later.
In one of your heat-safe beakers, combine all your oil phase ingredients: sweet almond oil, shea butter, and emulsifying wax. In the second beaker, mix your water phase ingredients: distilled water and vegetable glycerin.
Now, create a gentle double boiler by placing both beakers in a saucepan with an inch or two of simmering water. Heat them both until everything in the oil phase has completely melted. You're aiming for both phases to reach a temperature of around 160-170°F (71-77°C). Getting them to a similar temperature helps them blend together like a dream.
This visual guide shows the basic idea of how these components come together. It's the heart of lotion making.
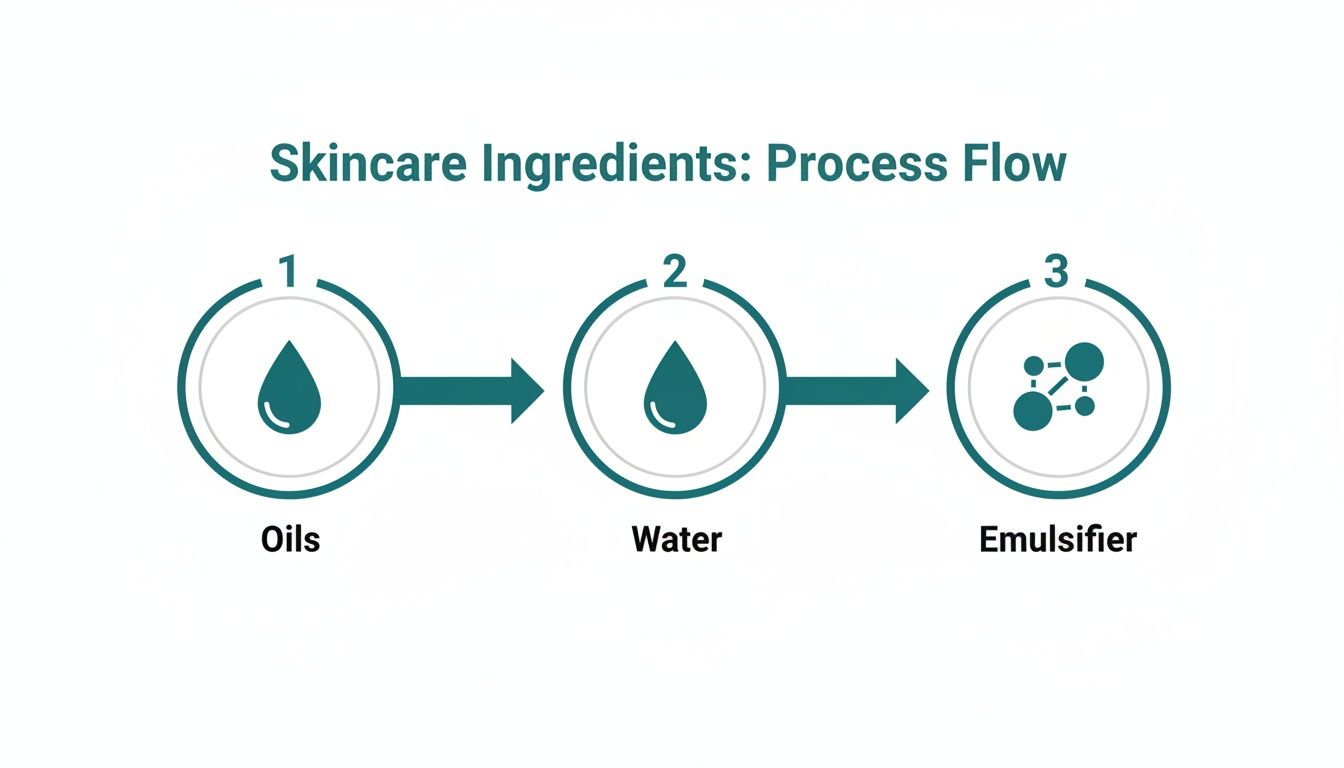
As you can see, oils, water, and an emulsifier are the three pillars you need to create a stable, creamy lotion.
The Combination Phase: Creating the Emulsion
Here comes the magic! Once both phases are hot enough, carefully remove them from the heat. Pour the water phase directly into the oil phase.
Wait! Don't stir just yet. Let the mixture sit for a second. Now, grab your immersion blender. Make sure the head of the blender is fully submerged before you turn it on—trust me, you don't want to splatter hot liquid everywhere.
Blend in short bursts of 10-15 seconds, moving the blender around the beaker. You’ll immediately see the separated liquids transform into a milky white, thicker fluid. That’s your emulsion forming! Keep this up for about 1-2 minutes in total. Honestly, learning how to properly emulsify oil and water is the single most important skill you’ll develop in this hobby.
The Cool-Down Phase: The Final Touches
Your cream isn't done yet; it will continue to thicken quite a bit as it cools. Set the beaker aside and give it a gentle stir with your spatula every 5-10 minutes. This helps it cool evenly and stops a "skin" from forming on top.
Once the moisturizer has cooled to below 110°F (43°C), it’s time to add your cool-down ingredients. This step is crucial because high heat can destroy preservatives and damage delicate additives. Go ahead and add your preservative, Vitamin E oil, and any essential oils, then stir everything together thoroughly.
And that's it! Your homemade moisturizer is officially complete. Carefully transfer it into your sanitized jars. I recommend leaving the lids off until it's completely at room temperature to prevent any condensation from forming inside.
Customizing Your Cream With Scents and Additives
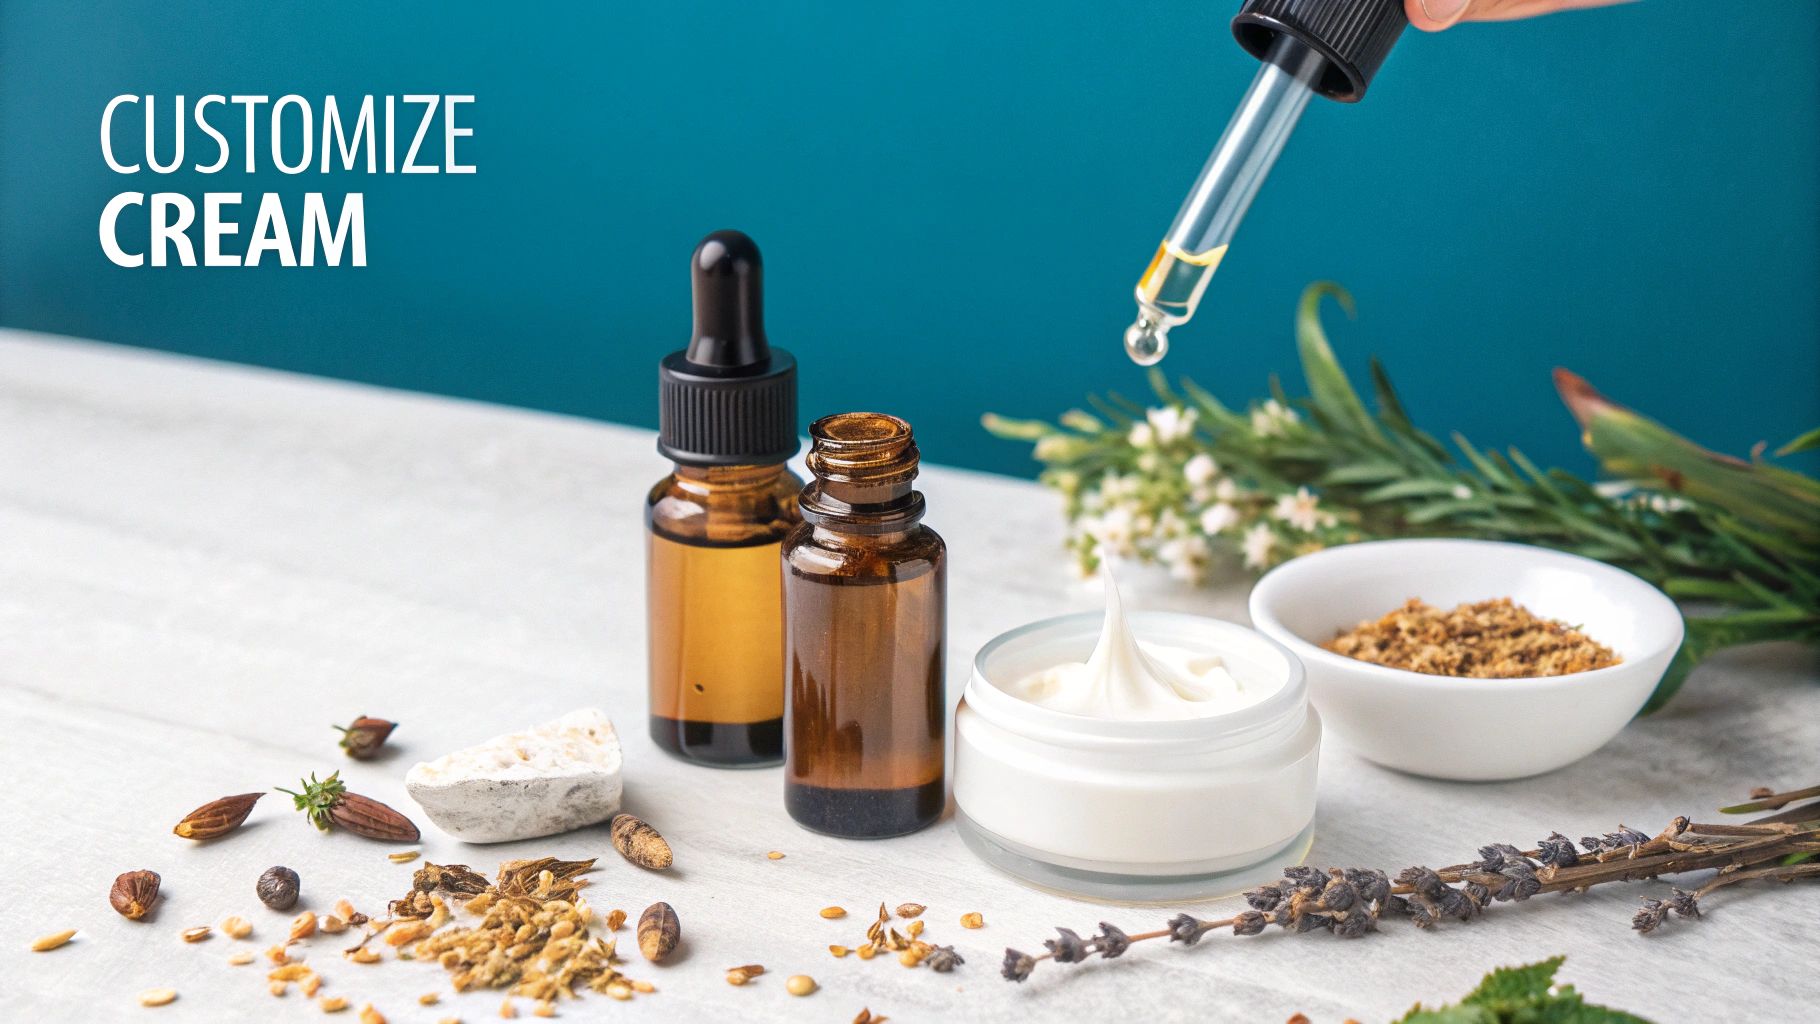
You've done it. You've navigated the tricky waters of emulsification and now have a beautiful, stable cream base cooling on your counter. You've officially mastered the most technical part of making moisturizer.
Now for the fun part. This is where you get to infuse your cream with personality. The cool-down phase is your creative playground, where you can add those special touches that elevate your cream from simply functional to truly exceptional. This is the moment to add your preservative, but it's also your chance to introduce scents, extracts, and even a hint of color.
Think of your cream base as a blank canvas, ready for your artistic touch.
Adding Beneficial Boosters
During the cool-down phase—once your cream's temperature dips below 110°F (43°C)—you can start stirring in all sorts of heat-sensitive goodies. Adding them at this lower temperature is crucial because it keeps their qualities intact.
A super popular and easy addition is Vitamin E oil. It's a fantastic antioxidant that can help slow down the oxidation of your carrier oils, giving your product's freshness a nice little boost.
You can also explore other skin-beautifying additions:
- Botanical Extracts: Ingredients like green tea or calendula extract can be incorporated for their unique qualities. Just be sure to check the supplier's recommended usage rate.
- Panthenol (Pro-Vitamin B5): This is a wonderful humectant that helps attract and hold moisture in the skin. A little goes a long way here.
- Allantoin: Known for its skin-soothing qualities, this fine powder can give your cream an extra gentle touch. You'll need to make sure it's thoroughly dissolved.
When adding any new ingredient, always start with the lowest recommended percentage. It's much easier to add more in a future batch than to try and fix a formula that has too much of a potent active.
Introducing Natural Scents Safely
One of the greatest joys of DIY skincare is creating a product that smells exactly how you want it to. Essential oils are a beautiful way to add a natural aroma, but they demand respect and care.
The absolute key is proper dilution. For a facial product, a safe and effective dilution rate is typically between 0.25% and 0.5%. For a body cream, you can go a bit higher, up to 1%. Overdoing it can lead to skin sensitivity, so trust me on this one: less is always more.
Exploring different lavender varieties is a great way to start personalizing your scent profile. Some lavenders are deeply floral, while others have a sharper, more herbaceous note.
Calculating Your Essential Oil Usage
Let's use our 120-gram recipe as an example to make this super clear.
- For a 0.5% dilution (face cream): 120 grams x 0.005 = 0.6 grams of essential oil.
- For a 1% dilution (body cream): 120 grams x 0.01 = 1.2 grams of essential oil.
Always weigh your essential oils with your digital scale. Don't eyeball it! This precise approach ensures you get a consistent and safe product every single time. Using aromatherapy is a beautiful way to customize your skincare, and you can learn more about its role in skin care to expand your knowledge.
Playing With Natural Colorants
If you want to give your cream a subtle, beautiful tint, you can play around with natural colorants. A tiny pinch of mica powder or a few drops of a water-soluble cosmetic colorant can completely transform the look of your creation. Just make sure you're using colorants specifically approved for skincare.
Add your colorant at the very end of the cool-down phase, a little bit at a time, stirring thoroughly until you achieve the shade you're going for. This step is purely for looks, but it’s a fun way to make your homemade moisturizer even more special.
How to Properly Preserve and Store Your Creation
You’ve just spent time carefully crafting a beautiful, personalized cream. But before you can call it done, there’s one final step that is absolutely non-negotiable for safety.
Any homemade recipe that contains water—whether it’s distilled water, a floral hydrosol, or even aloe juice—is the perfect breeding ground for mold, bacteria, and yeast. Preservation isn't just a good idea; it's a critical part of making skincare safely. This last stage ensures all your hard work results in a product that stays fresh, safe, and effective for months.
Why a Preservative Is Essential
You'll find a lot of DIY recipes online that unfortunately skip this crucial ingredient or, worse, suggest that "natural" antioxidants can do the job. It's so important to understand the difference here.
Ingredients like Vitamin E oil or grapefruit seed extract are antioxidants. They are great at slowing down how quickly your oils go rancid (oxidation), but they do absolutely nothing to stop microbial growth. They are not preservatives.
Without a proper preservative, your lovely cream can become contaminated within a few days, often long before you can see or smell anything wrong. That's why you must use a broad-spectrum preservative, which is a cosmetic-grade ingredient specifically designed to protect against bacteria, yeast, and mold.
Key Takeaway: A broad-spectrum preservative is the only way to ensure your homemade moisturizer is safe. For any product made with water, this is a non-negotiable step.
The desire for personalized, effective skincare is bigger than ever. In fact, the creams and moisturizers segment alone grabs a 35% market share of a massive $178.63 billion global industry. Learning to make your own moisturizer properly—including the crucial preservation step—connects you to this incredible trend. You can explore more insights on the skincare market to see just how much it's growing.
Choosing and Using Your Preservative
Picking the right preservative doesn't have to be intimidating. For home crafters, there are plenty of excellent, easy-to-use options that you simply add during the cool-down phase of your recipe (when the cream is below 110°F or 43°C).
Here are a few popular choices that are great for beginners:
- Optiphen Plus: A very reliable and popular choice that’s effective against a wide range of microbes. It's a real workhorse.
- Germall Plus (Liquid): A powerful preservative that you use at very low concentrations, which makes it super cost-effective.
- Phenonip: Another trusted broad-spectrum preservative that works wonderfully in lotion and cream formulas.
Using it is simple. Just weigh out the correct amount based on the total weight of your recipe and stir it into your cream during the cool-down phase. Always, always follow the supplier’s recommended usage rate, which is typically between 0.5% and 1.5%.
For our 120-gram recipe, a 1% usage rate would mean adding 1.2 grams of preservative. A great place to start is by exploring a collection of cosmetic-grade preservatives for homemade skincare to find the perfect one for your project.
Best Practices for Storage
Once your moisturizer is preserved and has fully cooled, storing it correctly will make all the difference in its shelf life.
The ideal container is both airtight and opaque. An airless pump bottle is a fantastic choice because it minimizes the product's exposure to air and your fingers, which seriously cuts down on the risk of contamination every time you use it.
If you're more of a jar person, opt for dark glass (like amber or cobalt blue) or opaque plastic to shield the ingredients from light, which can cause them to break down faster.
Always store your finished moisturizer in a cool, dark place, like a medicine cabinet or a drawer. Try to avoid leaving it in direct sunlight or in a steamy bathroom, as heat and light can degrade the ingredients and weaken your preservative's effectiveness over time. With the right preservation and storage, your creation should stay fresh and safe for a good 6 to 12 months.
Common Questions About Making Moisturizer
Even the most seasoned DIY-er runs into questions when making moisturizers. It's a creative process, after all, and sometimes things don't go quite as planned. This little guide is here to tackle those common "what if?" moments, giving you clear, practical answers to get you back on track.
Think of this as your go-to troubleshooting cheat sheet. Most issues are surprisingly easy to fix and are fantastic learning opportunities for your next beautiful batch.
Why Did My Moisturizer Separate After a Few Days?
Ah, the dreaded separation. Seeing your beautiful, creamy creation split into layers of oil and water is a classic beginner's hurdle. This almost always points to an unstable emulsion. Don't throw it out just yet!
Usually, this problem boils down to a few key things:
- Temperature Imbalance: Your oil and water phases were likely at different temperatures when you combined them. For a strong, lasting bond, you want both to be right around 160°F (70°C).
- Improper Mixing: This is a big one. You need a powerful, vigorous blend to force those oil and water molecules to become friends. An immersion blender is your absolute best tool here. Use it in short, strong bursts for a good one to two minutes.
- Incorrect Ratios: If you don't have enough emulsifier for the amount of oil and water you're using, the mixture simply can't hold itself together. Always, always double-check your recipe and measure with a digital scale.
Quick tip: You can often rescue a separated cream! Gently reheat the entire mixture in a double boiler until it’s liquid again, then hit it with your immersion blender. It’s a great trick for saving a batch that didn't quite make it the first time.
Can I Make This Recipe Without a Preservative?
I get this question a lot, and the answer is a firm no—not if it contains water. Any formula that includes water, aloe vera, or hydrosols absolutely must have a broad-spectrum preservative to be safe.
Without it, your lovely cream can become a playground for nasty bacteria, yeast, and mold in just a few days. The scary part? This often happens long before you can see or smell anything wrong.
Remember, things like Vitamin E or grapefruit seed extract are antioxidants, not preservatives. They do a great job of keeping your oils from going rancid, but they offer zero protection against microbial growth. If you’re committed to a preservative-free product, you’ll need to stick to anhydrous (water-free) recipes like body butters or balms.
How Long Will My Homemade Moisturizer Last?
The shelf life of your beautiful creation really depends on two things: the freshness of your ingredients and the effectiveness of your preservative.
When you use a reliable broad-spectrum preservative correctly, your homemade moisturizer should stay fresh and safe for 6 to 12 months.
Always check the expiration dates on your carrier oils, as they are often the first to go. A good rule of thumb is to let the ingredient with the shortest shelf life determine your product's "best by" date. I also highly recommend labeling every jar with the date you made it. If you ever notice a change in smell, color, or texture, it’s time to toss it and whip up a fresh batch.
My Final Cream Feels Too Greasy. What Went Wrong?
That heavy, greasy feeling usually comes down to your choice of butters and oils. Ingredients like shea butter or heavier oils like avocado are wonderfully nourishing, but they can definitely leave more of a residue on the skin.
If you’re aiming for a lighter feel next time, you’ve got a few easy options:
- Switch Up Your Oils: Try swapping out a portion of the heavier oils for something that absorbs more quickly. Jojoba oil, grapeseed, or fractionated coconut oil are fantastic choices.
- Adjust Your Ratios: For a less rich cream, you can slightly decrease the total percentage of your oil phase. Just be sure to increase your water phase by the same amount to keep your formula balanced at 100%.
- Add an Absorbent: This is a great pro-tip! Stirring a tiny bit of arrowroot powder or tapioca starch into your cool-down phase can give the final cream a silky, almost matte finish.
Ready to skip the DIY and dive straight into perfectly formulated skincare? Explore the beautiful, effective products and high-quality lotion-making supplies at Skin Perfection. Find your next favorite at https://www.naturalorganicskincare.com.