
 Buy with Prime


If you've ever thought about making your own skincare, you're in for a treat. It’s about so much more than just melting and mixing a few oils and butters together. We're talking about a craft that blends creativity with a little bit of science to create truly beautiful, effective products. The key is understanding how to measure ingredients by weight, safely handle different phases, and make sure your finished product is properly preserved.
Your Journey Into Homemade Skincare
Diving into the world of DIY skincare is an incredibly empowering experience. This guide is your starting point for moving beyond simple kitchen recipes and into the world of creating safe, stable, and beautiful products from scratch. My goal is to help you understand the why behind each ingredient and every step. Once you grasp those fundamentals, you can create lotions and creams that not only feel amazing but look and perform like they came from a high-end boutique.
The desire for skincare that's both personal and transparent is huge right now. The global market was valued at around USD 115.69 billion in 2024, and it's expected to almost double in the next ten years. You can read more about current skincare market trends to get a feel for the space. This massive growth just shows how much people care about quality ingredients and thoughtful formulations—exactly what you’re about to learn.
What to Expect From This Guide
Think of this as your foundational course in the art and science of home formulation. We're going to build your confidence through knowledge, walking you through a clear roadmap that covers everything a beginner needs to know, one concept at a time.
Here’s a little preview of what we’ll cover:
- Setting Up Your Workspace: We’ll go over the essential tools you'll want on hand, from a reliable digital scale to a few heat-resistant glass beakers.
- Understanding Ingredients: You'll get to know the different players in a formulation, like oils, butters, emulsifiers, and preservatives, and the roles they each play.
- Mastering the Core Process: I’ll walk you through making a basic lotion step-by-step. This is the perfect starting point for any new formulator.
- Safety and Preservation: This part is non-negotiable. We'll cover good manufacturing practices and why using a preservative is crucial for keeping your beautiful creations safe.
My goal is to get you from simply following recipes to confidently creating your own unique skincare. By the end of this guide, you’ll have a solid grasp on how to formulate safely and effectively.
Setting Up Your At-Home Formulation Space
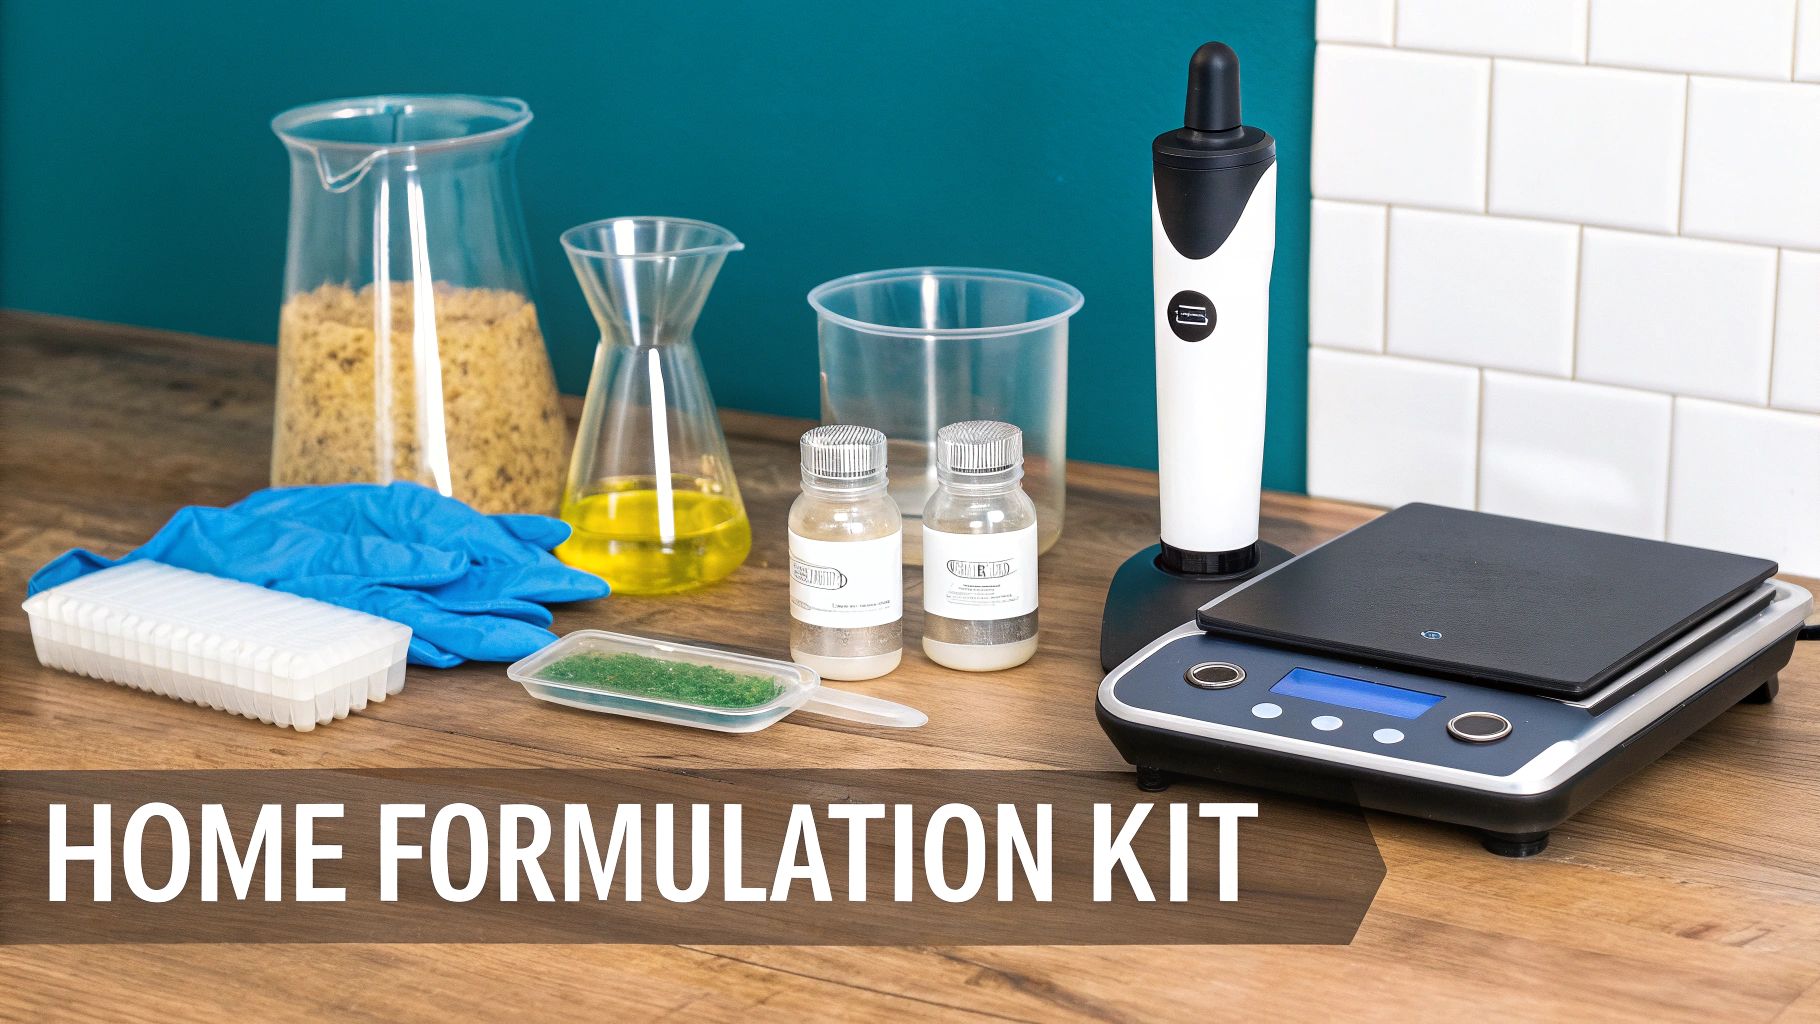
Before you can bring your beautiful skincare ideas to life, you need a dedicated space. Think of it as your personal creative studio. Building your own home lab doesn't require a massive investment, but a few key pieces are absolutely essential for accuracy, safety, and getting that professional feel.
The biggest mental shift when learning how to create skincare is moving from kitchen measurements (like cups and spoons) to scientific precision. Volume measurements can be wildly inconsistent. Just think about it—a "packed" cup of shea butter has way more product than a loosely filled one, which will throw your entire formula off.
Precision Is Paramount
Your most important tool, hands down, is a digital scale that measures to at least 0.01 grams. This isn't just a suggestion; it's a non-negotiable for creating stable, consistent products. Even a tiny variation in an emulsifier or preservative can completely change your final product's texture and shelf life.
Beyond the scale, you’ll need a few other core items to handle ingredients properly. Having the right tools makes the whole process smoother and, more importantly, safer.
- Heat-Resistant Glass Beakers: You’ll want at least two—one for your water phase and one for your oil phase. They let you safely heat ingredients in a water bath without any risk of shattering.
- Small Glass Beaus or Bowls: These are perfect for measuring out tiny amounts of heat-sensitive ingredients, like delicate extracts or preservatives, that you’ll add during the cool-down phase.
- Stainless Steel Spatulas or Spoons: Use these for scooping butters and powders. They're easy to sanitize and won’t react with any of your ingredients.
- Immersion Blender (Stick Blender): This is your secret weapon for creating a stable emulsion. The high-shear force it creates is what you need to blend oil and water into a smooth, uniform lotion that won't separate later.
Getting your toolkit together is such an exciting first step. You can find a great selection of high-quality lotion-making supplies to get your home lab started on the right foot.
A Foundation Of Safety And Cleanliness
When you create skincare, you're essentially acting as your own manufacturer. This means adopting good manufacturing practices (GMP) is vital, even if you're just starting out on a small scale. Cleanliness is everything for ensuring your products have a good shelf life and are safe to use.
Start by designating a clean, uncluttered surface that you can easily wipe down. I like to cover my workspace with paper towels to catch any spills. And always remember to tie back long hair and take off any dangling jewelry that could fall into your mixture.
Your safety gear is just as critical as your formulation equipment.
- Gloves: Nitrile gloves are a must. They protect your hands from concentrated ingredients and, just as importantly, prevent you from introducing contaminants into your product.
- Safety Goggles: Eye protection is crucial. You don't want to risk a splash of hot liquid or a puff of fine powder getting into your eyes.
- Isopropyl Alcohol (70%): Keep a spray bottle of this on hand to sanitize everything—your work surface, every piece of equipment, and your final containers. This simple step is one of the most effective ways to prevent contamination.
Remember, every single surface and tool that touches your ingredients should be meticulously sanitized. This means your beakers, spatulas, immersion blender, and even the final packaging. Taking a few extra minutes for this step ensures the integrity and longevity of your creations.
By setting up a dedicated, clean, and well-equipped space, you create an environment where you can really focus on the fun part—the creative process. With your tools and safety gear ready, you're all set to dive into the ingredients that will make your formulas uniquely yours.
Understanding Your Skincare Ingredients
Every great skincare creation starts with getting to know your ingredients, inside and out. Making the leap from a recipe follower to a true formulator means understanding the role each component plays. Think of it like cooking—once you get what salt, fat, acid, and heat really do, you can start creating your own dishes. The exact same principle applies here.
At its core, a lotion or cream is a beautiful blend of oil and water, brought together in harmony. To get there, we need to organize our ingredients into logical groups, each with a specific job to do.
The Foundation: The Water and Oil Phases
Most lotions are emulsions. That’s just a fancy way of saying they are a stable mixture of water-based and oil-based ingredients that would normally separate. We handle these two groups separately at first, before bringing them together.
The water phase is exactly what it sounds like—it's the H2O component of your formula. This is often the largest part of your creation, providing the primary source of hydration.
- Distilled Water: This is your go-to. It's been purified to remove minerals and microorganisms, which is critical for ensuring a clean, stable base for your product.
- Hydrosols (Floral Waters): These are the aromatic waters collected when plants are steam-distilled. Swapping some of your distilled water for a rose or lavender hydrosol can add a subtle, natural scent and a beautiful feel to your finished lotion.
The oil phase is where you can truly get creative. This part of the formula is what gives the product its texture, richness, and unique feel on the skin. This phase is made up of your chosen carrier oils and butters.
- Carrier Oils: These are plant-based oils that not only "carry" other ingredients but also offer unique properties that enhance a product's feel. Jojoba oil, for instance, has a feel that's incredibly similar to our skin's own sebum.
- Butters: Ingredients like rich shea butter or creamy mango butter add thickness and a luxurious, decadent consistency to your products.
The Magic Ingredients: Emulsifiers and Preservatives
So, how do you get oil and water to mix and, more importantly, stay mixed? That's the job of the emulsifier. An emulsifier is a special ingredient that has a water-loving end and an oil-loving end. This allows it to bridge the gap between your two phases, creating a stable, creamy lotion that won't separate.
Equally important is the preservative. Any product that contains water is a potential breeding ground for bacteria, mold, and yeast. A broad-spectrum preservative is completely non-negotiable for safety. It stops microbial growth and ensures your beautiful creation remains safe to use.
Understanding these core components is your key to unlocking formulation freedom. Grasping the roles of the water phase, oil phase, emulsifier, and preservative moves you from following recipes to crafting your own unique skincare.
Adding Function and Feel
Beyond the basic structure, you can add functional ingredients to give your product specific properties. To protect their delicate properties from heat, these are usually added during the cool-down phase after the emulsion has formed.
- Humectants: Ingredients like vegetable glycerin are moisture magnets. They work by drawing water from the air right into your skin, helping to keep it looking plump and hydrated.
- Antioxidants: Vitamin E (Tocopherol) is a classic for a reason. It not only beautifies the skin but also helps protect the oils in your formula from going rancid, which boosts the overall stability and shelf life of your product.
Consumer preferences have really shaped how we create skincare today, leading to a strong shift toward organic and natural components. In fact, some reports show that 74% of global consumers see organic ingredients as vital in their beauty choices, which just goes to show the rise of the clean beauty movement.
Choosing the Right Oils and Butters
The oils and butters you select will dramatically influence the final feel of your product. Some oils are light and absorb in a flash, while others are richer and provide a more substantial, nourishing feel. There are endless possibilities, and you can learn more about some of the top natural beauty ingredients for homemade skincare recipes in our detailed guide.
To truly customize your ingredients, you can even learn how to make your own oil infusions by steeping botanicals like calendula or chamomile in a carrier oil. This is a wonderful way to incorporate the properties of plants directly into your oil phase.
Let's take a quick look at how some common carrier oils stack up. This is by no means an exhaustive list, but it gives you a good starting point for understanding how different oils behave.
Common Carrier Oils and Their Properties
| Carrier Oil | Absorption Rate | Skin Feel | Commonly Used In |
|---|---|---|---|
| Jojoba Oil | Fast | Light, non-greasy | Facial moisturizers |
| Sweet Almond Oil | Medium | Silky, moisturizing | Body lotions, hand creams |
| Avocado Oil | Slow | Rich, nourishing | Rich creams, body butters |
| Grapeseed Oil | Very Fast | Dry, satin-finish | Oily skin formulations |
| Coconut Oil | Medium | Smooth, protective | All-purpose balms, creams |
By experimenting with different combinations, you can tailor the texture and performance of your product perfectly. This foundational knowledge of ingredients is the most exciting part of learning to formulate, as it opens up a whole world of creative possibilities.
The Core Process of Making a Lotion
Now that you've got your ingredients sorted and your workspace is prepped, it's time for the fun part—where it all comes together. Making a lotion is a foundational skill when you're learning how to create skincare products. The process is pretty methodical, but it’s also incredibly rewarding.
At its heart, making a lotion is all about creating an emulsion: a stable, beautiful blend of water and oil.
The whole thing boils down to a few key stages. You'll carefully measure everything, heat your water and oil phases in separate containers, combine them with some high-speed mixing, and then add your delicate, heat-sensitive goodies during the cool-down.
This infographic breaks down the three essential parts that have to come together to form that perfect emulsion.
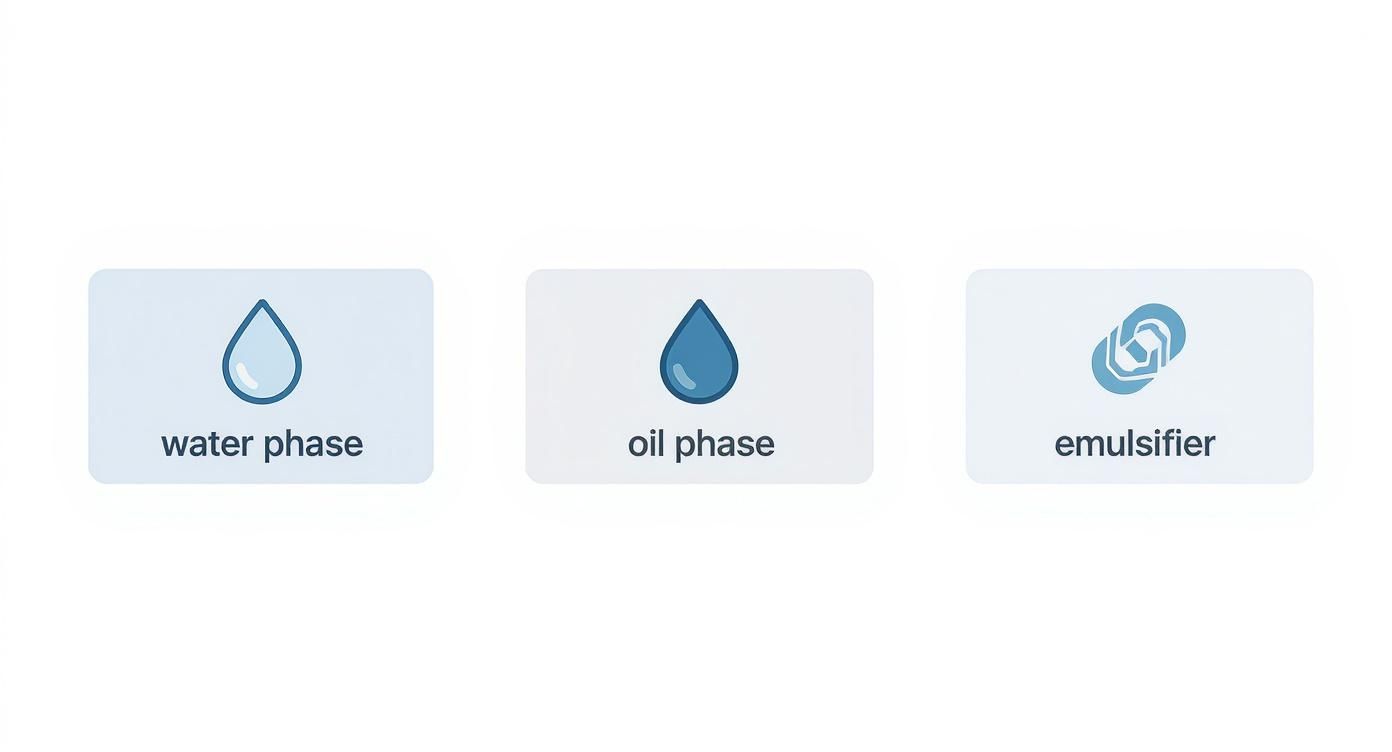
As you can see, the water and oil phases are held together by the emulsifier. That little ingredient is the real hero that keeps your lotion from separating.
Preparing and Heating Your Phases
Accuracy is everything in formulating. Before you even think about heating anything, make sure your digital scale is zeroed out. Measure every single ingredient by weight into its own sanitized container. This kind of precision is what ensures your formula is perfect and repeatable every single time.
You'll need two main beakers for this stage:
- Water Phase Beaker: This is for your distilled water, hydrosols, and any water-soluble ingredients that can handle the heat, like glycerin.
- Oil Phase Beaker: This one holds all your carrier oils, butters, and of course, your emulsifying wax.
Set both beakers into a shallow pan of water on your stovetop to create a gentle double boiler. You want to slowly heat both phases until they reach about 160°F (71°C). Hitting this specific temperature is important—it ensures your emulsifying wax and butters are fully melted, and it also helps sanitize the mixture before you combine everything.
The Emulsification Stage
Here comes the moment of magic. Once both your water and oil phases have hit the target temperature, pour the water phase into the oil phase. Give it a quick stir with a sanitized spatula or mini-whisk.
Now, grab your immersion blender. To avoid whipping air into your lotion, keep the blender head completely submerged and blend the mixture in short bursts of 30-60 seconds each. In between bursts, give it a gentle stir with your spatula.
You're watching for a very specific visual change here. The mixture will go from a separated, translucent liquid to a uniform, milky white. That's the sign you've achieved emulsion. The oil and water are officially bound together.
Pro Tip: Always keep the head of the immersion blender below the surface of the liquid. If you tilt it or pull it out while it's running, you'll create a vortex of air bubbles. Trust me, you don't want a lotion with a foamy, weird texture.
Keep blending in short bursts for a total of 2-3 minutes. This high-shear mixing creates a stable emulsion that won’t separate later. Don't be alarmed if the mixture still looks very thin and watery—that's totally normal. It will thicken up nicely as it cools down.
The Cool Down and Final Additions
Once you’re done blending, pop the beaker into a cool water bath. This just helps speed up the cooling process. Stir it gently every few minutes with a sanitized spatula to keep a skin from forming on top and to make sure it cools down evenly.
Your formula isn't finished just yet. Now it's time to add all the good stuff that couldn't handle the heat.
Wait until the lotion has cooled to below 113°F (45°C) before mixing in these final ingredients:
- Broad-Spectrum Preservative: This is non-negotiable. It's the most critical addition for keeping your product safe.
- Antioxidants: This includes ingredients like Vitamin E (tocopherol).
- Fragrance or Essential Oils: If you're using them, now's the time.
Stir thoroughly after adding each ingredient to make sure it's distributed evenly throughout the lotion. You're now taking part in the very same creative process used by a global industry where the skincare sector commands roughly 42% of the beauty market. For more context on the industry, you can check out these beauty industry statistics.
Once every ingredient is mixed in and the lotion is at room temperature, it's ready for its final home in your sanitized bottles or jars. Mastering this process really opens up a world of creative possibilities and is a huge step toward making skincare that's truly professional quality.
Why Preservation and Safety Are Non-Negotiable
Nailing the perfect texture for a new cream is a fantastic feeling, but that's really only half the battle. The most critical part of learning to formulate skincare is ensuring your creations are completely safe—from the moment you pour them into the bottle to the very last drop.
This is where things get serious. Preservation and good manufacturing practices aren't just best practices; they are the absolute core of responsible formulating.
Any product you make that contains water—or ingredients that are mostly water, like hydrosols and aloe vera juice—is basically an open invitation for microbial growth. I'm talking about bacteria, yeast, and mold. They can take hold in an unpreserved, water-based product in as little as 24-48 hours, often long before you can see, smell, or feel that something is wrong.
This isn't just a matter of your product "going bad." It's a genuine safety issue. Using a contaminated product can lead to skin irritation. That's why a broad-spectrum preservative is a non-negotiable ingredient in any lotion, cream, or water-based serum you create.
Understanding Preservatives
A broad-spectrum preservative is your secret weapon. It’s a system of ingredients specifically designed to fight off a wide range of nasty microorganisms, keeping your homemade skincare safe and stable. It's a common myth that "natural" means preservative-free, but as soon as water enters the picture, that idea becomes downright unsafe.
Some ingredients are often mistaken for preservatives, and it's a dangerous mix-up. Things like Vitamin E or grapefruit seed extract are fantastic antioxidants that stop your oils from going rancid. But what they don't do is protect against bacteria, mold, or yeast. You have to use a true, lab-tested preservative system.
For those of us crafting at home, there are plenty of user-friendly and effective options out there:
- Liquid Germall Plus: A real workhorse. It’s highly effective, works in tons of different emulsions, and you typically add it during the cool-down phase so it's easy to work with.
- Optiphen Plus: Another go-to choice for many formulators. It’s paraben-free and formaldehyde-free, offering really reliable protection.
- Geogard ECT: If you're aiming for a more "natural" product profile, this is an Ecocert-approved option that gets the job done.
Every preservative is different. Each has a specific usage rate, a pH range it works best in, and a temperature it can handle. You absolutely must follow your supplier's instructions to the letter to make sure it's working effectively. You can browse a whole range of trusted preservatives for homemade skincare to find one that fits your formula.
Remember, a preservative's job is to keep your product safe for its entire shelf life. Skipping this is simply not an option in any formula containing water. Your commitment to safety is what elevates what you do from a hobby to a real, respectable craft.
Good Manufacturing Practices For Home Crafters
Beyond the ingredients, your workspace habits are just as important for product safety. In the professional world, this is called Good Manufacturing Practices, or GMP. You might not be in a factory, but bringing these principles into your home lab is essential.
Think of it like setting up a mini "clean room" in your kitchen. Your goal is to keep contaminants out at every single step of the process.
Here’s a quick GMP checklist to live by:
- Sanitize Everything: Before you even think about measuring ingredients, clean your work surface. Then, grab a spray bottle of 70% isopropyl alcohol and spray down every single piece of equipment—beakers, spatulas, your stick blender, and especially the final bottles or jars. Let it all air dry completely.
- Wear Protective Gear: Always, always wear nitrile gloves. This isn't just about protecting your hands from the ingredients; it's about protecting your ingredients from the natural microbes and oils on your skin. A pair of safety goggles is a smart move, too.
- Use Distilled Water: Never use tap water. It contains minerals and microorganisms that can mess with your formula's stability and introduce contaminants from the get-go. Always stick to distilled or deionized water for your water phase.
When you embrace this safety-first mindset, you’re ensuring that the beautiful products you spend so much time creating are just as safe as they are wonderful to use.
Finishing and Storing Your Homemade Skincare
You did it—you've created a beautiful, stable emulsion! The hardest part is officially behind you. Now, it's time to focus on the finishing touches and give your creation a proper home. Don't rush this part; how you package and store your products is just as critical as the formulation itself.
This is also your chance to learn from what you’ve just made. Take a moment to really feel the lotion. How's the texture? Is it silky and light, or maybe a tad heavier than you wanted? Pay attention to how quickly it absorbs. These observations are gold. Jot down some notes—what you love, and what you might tweak next time. Maybe you'll swap a heavy butter for a lighter oil to get that fast-absorbing feel you're after.
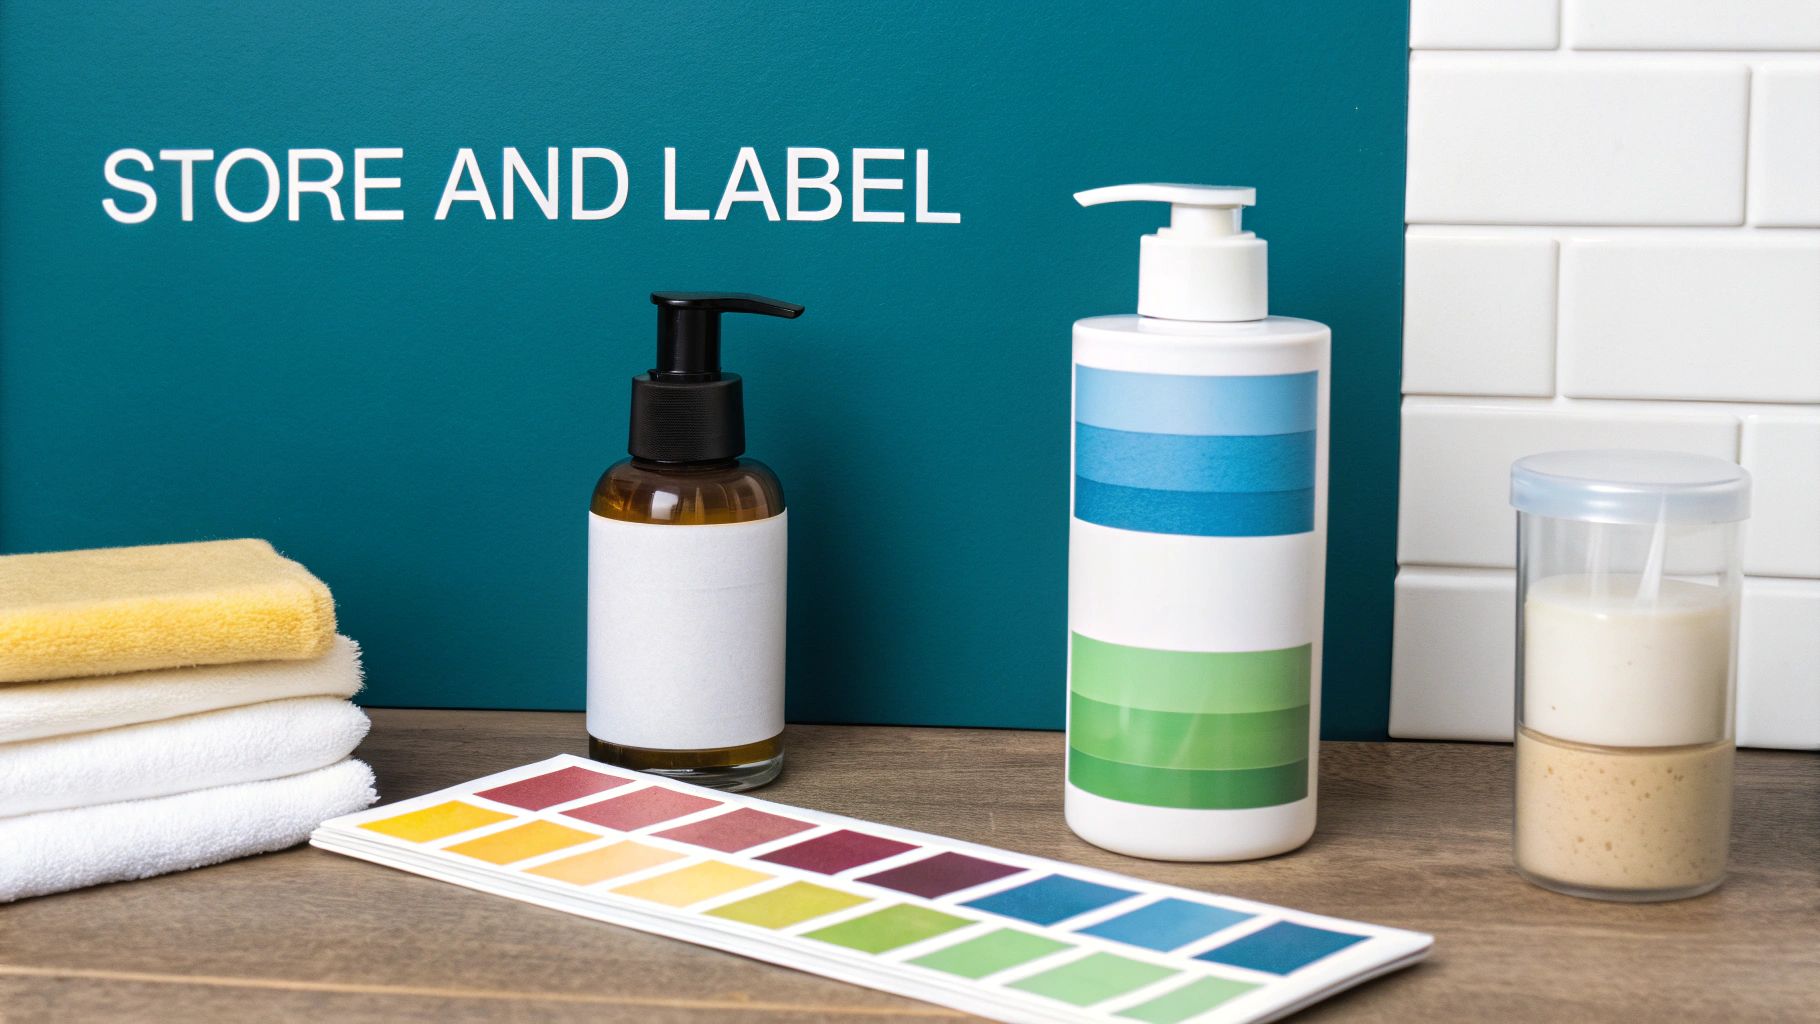
Perfecting Your Packaging and Labels
Choosing the right container is all about protecting your hard work. After all the effort you put into sanitizing everything, the last thing you want is to introduce microbes at the finish line.
Here are your best bets for packaging:
- Airless Pump Bottles: These are the gold standard for a reason. They keep air and fingers out of your product, which dramatically reduces the risk of contamination.
- Squeeze Tubes: This is another fantastic choice because it prevents you from dipping your fingers directly into the lotion.
- Sanitized Glass Jars: If you just love the aesthetic of a jar, make sure you sanitize it thoroughly with 70% isopropyl alcohol first. And please, always use a clean cosmetic spatula to scoop out the product, not your hands.
Once your products are bottled, you'll need to label them. This is about more than just looking good; it's a safety essential. If you want some inspiration, learn how to create custom labels that stand out while including all the key info. At a minimum, every label needs the product name, the date it was made, and a complete list of ingredients.
Here's a pro tip from my own experience: always do a quick stability test. I fill a small, clear container with a little bit of the new lotion and just watch it for a week. I'm looking for any signs of separation, weird color changes, or a shift in scent. It's an easy way to get real feedback on how your formula is holding up.
Smart Storage for a Longer Shelf Life
How you store your skincare has a direct impact on how long it will stay fresh and effective. Even when properly preserved, our homemade creations are more delicate than the mass-produced stuff, which often contains heavy-duty synthetic stabilizers.
The two biggest enemies of your beautiful lotion are heat and direct sunlight. Always store your finished products in a cool, dark place. A bathroom cabinet, a dresser drawer, or a dedicated skincare fridge are all great options. Whatever you do, don't leave them on a sunny windowsill. UV rays will break down the oils and active ingredients, making them less effective and spoiling them faster. Follow these simple rules, and every time you use your product, it will be as fresh as the day you made it.
As you dive into the world of making your own skincare, you'll find a few questions pop up again and again. It's totally normal. Getting the right answers from the start will give you the confidence to create safely and effectively. Let’s clear up some of the most common things beginners ask.
A big one is always about preservatives. Do you really need one? The answer is simple: if your product is anhydrous (meaning it contains zero water), you can skip the preservative. Think body butters, balms, and facial oils. But the moment you add any water, aloe vera juice, or hydrosol to a formula, a broad-spectrum preservative becomes an absolute must-have. This isn't negotiable—it's about safety.
Shelf Life and Common Mistakes
So, how long will your beautiful creations last? For anhydrous products, you can usually count on several months of freshness, as long as you store them properly away from heat and light. For lotions and creams that you’ve properly preserved, the typical shelf life is 3 to 6 months. This can vary a bit based on the specific preservative you use and how clean you kept your workspace.
I see this all the time with new formulators: measuring ingredients with cups and spoons. This is a huge mistake. Volume measurements are just too inconsistent for skincare. The single best investment you can make is a digital scale that measures down to 0.01g. It's the secret to getting reliable, repeatable results every single time.
Finally, let's talk about the ideal pH. For most products you put on your face, aim for a pH between 4.5 and 5.5. This is the sweet spot that helps support your skin's natural appearance and feel.
Ready to start your formulation journey? Skin Perfection has all the high-quality lotion making supplies and premium ingredients you need to create something beautiful. Explore our collections at https://www.naturalorganicskincare.com.